Updated March 2nd, 2020
An easy way to make your site faster is to compress your images.
On Shopify sites, there is a 2 step approach to maximize your compression:
- Install a Shopify image optimization app like Crush Pics
- Manually compress any images that apps can’t reach, using a tool like TinyPNG.com
Due to API restrictions, image optimization apps aren’t able to get all the images on your site. This is where part 2 (manual compression) comes into play.
So even with an optimization app installed, you might still get warnings in analysis tools like this:
To fix that you’ll have to manually compress them (Step 2 below).
Crush Pics / optimization apps will auto compress:
- Product images
- Collection and blog featured images
- Any images you upload into your Assets folder
These need to be manually compressed:
- Images uploaded in your Customize Theme section
- Images inserted inside pages or blog posts
- Images uploaded to the Files section in your Settings
Step 1: Auto compressing your images
Install Crush Pics and set to automatically compress. For a guide on our recommended settings, check this post out.
Step 2: Manually compressing your images
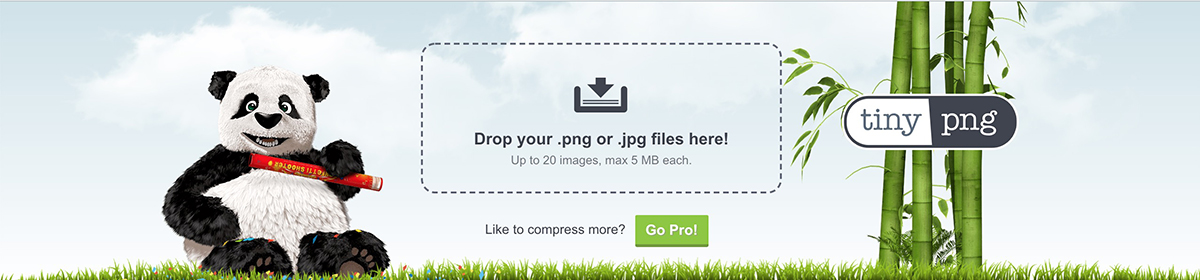
You can use an online compressor called TinyPNG to manually compress any images (JPG or PNG).
Head to TinyPNG.com and upload your images:
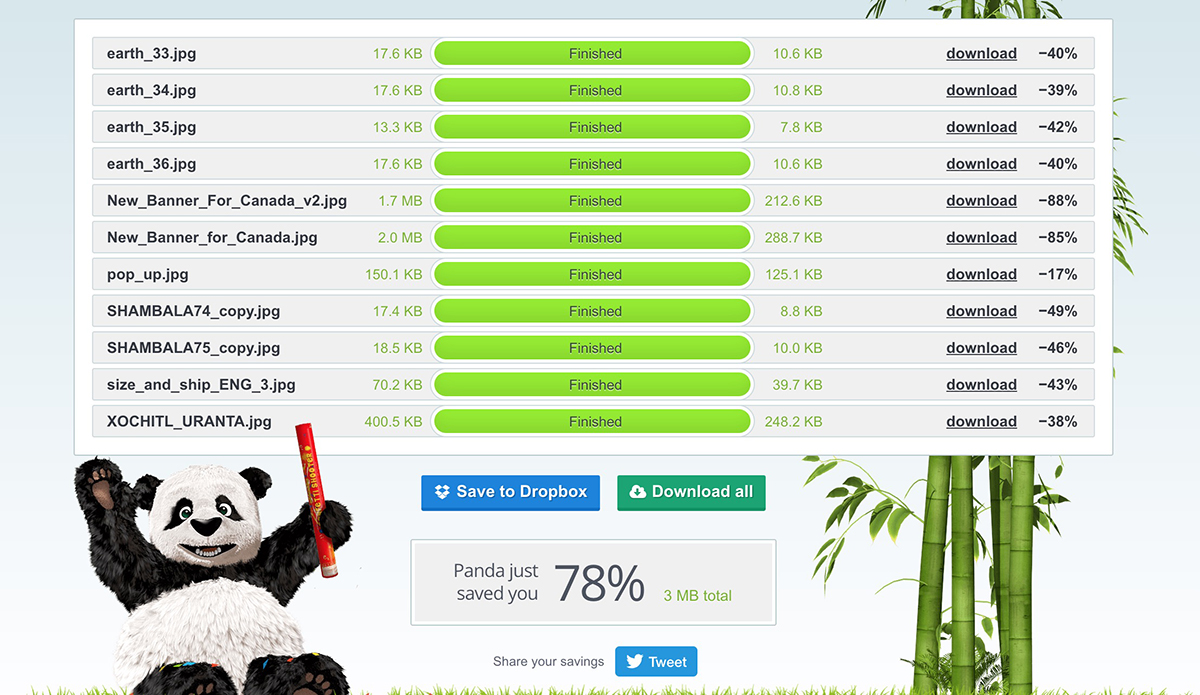
After uploading those same images above that gave warnings in PSI (plus some huge banner images that PSI didn’t detect), we now see they get compressed and save about 3MB… that’s a lot!
Now upload those images back where you got them and enjoy the speed savings 😎
How to find and download images that need to be compressed
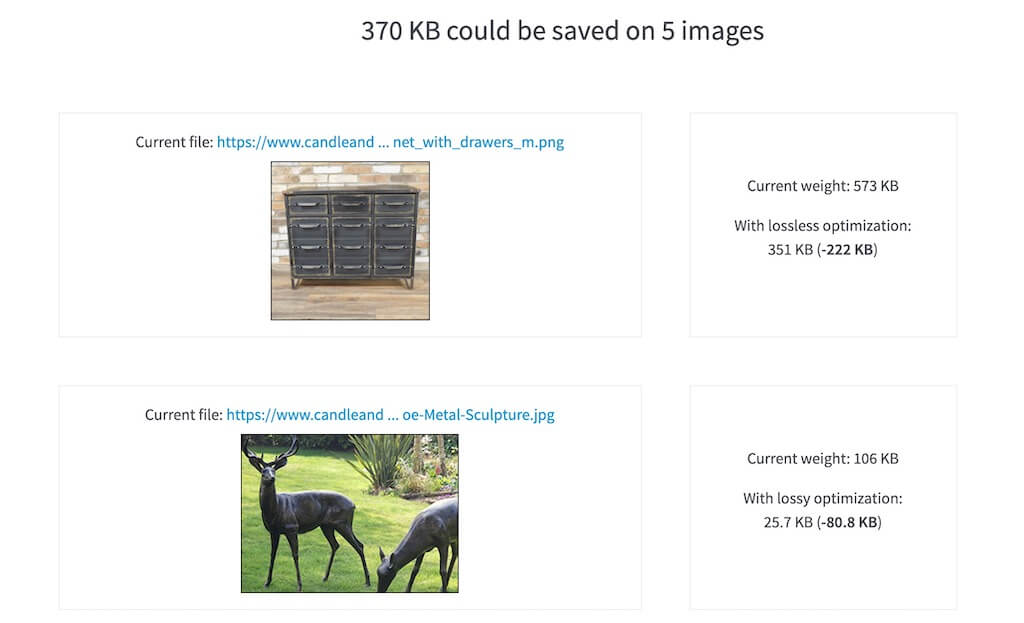
You can use the Shopify Analyzer to get a list of images that should be compressed.
Click on the Image compression section and you might see something like this:
Images here can be compressed to save weight.
If you have the original images on your computer, you can upload those to TinyPNG.
If you need to download the files instead, look at the end of the image url:
It will probably look either of these:
- https://cdn.shopify.com/s/files/1/1339/9941/t/29/assets/image1.jpg
- or https://cdn.shopify.com/s/files/1/1339/9941/t/29/assets/image1_800x.jpg
If it’s the first example, just right click and download the image, then run it through TinyPNG.
If it’s the second example, the highlighted part in orange is a Shopify image URL filter, meaning it takes the original image and serves up a specific size (to load faster). In this case, open the image in a new tab, then delete the _800x (or whatever the number is) from the url, then load that new url to give you the original image.
Then you can download it and run it through TinyPNG.
*In the screenshot above, they don’t have Shopify image url filters (there are no numbers right before the .png or .jpg), so they can be downloaded as is.
What does image compression do?
Image compression is an essential part of complete image optimization. Here’s what it does
- Strips unnecessary meta data from the image file
- Reduces the number of colors in an image
- Uses algorithms to combine data and similar patterns
- If you select “lossy” compression (instead of “lossless”), it will further compress by dropping the resolution to make the file even lighter (I prefer “lossless” to maintain optimal resolution, but you have options)
The Future
It would be nice if image compressor apps could cover your whole store, but for now they can’t. If you know of a completely automated solution, feel free to drop it in the comments, but I haven’t found one yet.
In the meantime, I think the extra minute it takes to manually compress your theme and blog post images is worth the speed savings. Faster sites get better conversions, more traffic, better SEO rank, and overall perform better.
Once your images are compressed, you’ll want to make sure your theme isn’t serving any oversized images, and that you’re using JPG instead of PNG for photographic images (we see PNG used often enough that it’s worth mentioning because they can be 2x – 10x the file weight).
Bonus SEO feature with Crush Pics
You can also save hours of work and get more free organic traffic by automating your image alt attributes:
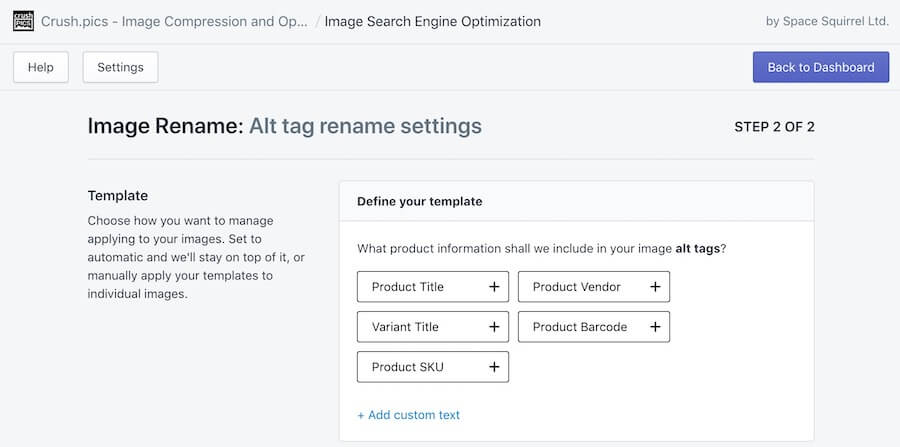
You choose the pieces and the app will update all your image alts to include that information and get all those extra keywords in your alt attributes.
For details about image SEO Shopify check this guide: Image SEO for Shopify – How to Optimize for Search Engines.
You can also auto rename your image filenames with the app, which can help, but the image alts are the more important SEO metric in my opinion.
If you’re referencing image files by file name anywhere, updating your file names will break those images. I recommend optimizing your alt attributes, but leave file names as they are.
Optimizing your image alt tags helps improve the SEO of the page and also gets you better placement in Google Image Search. Lots of people shop using Google Image Search (it’s fun give it a try)… so ranking better there helps you get more sales on autopilot.
More Optimization Ideas
If you want to identify all your optimization opportunities, you can use our Shopify Analyzer to seek the opportunities and how to fix them.
If you prefer having complete image optimization done for you, we handle everything in this post with our Shopify Image Optimization service.
To learn more about optimization, here’s complete guide to optimizing your site: How to Optimize a Shopify site.