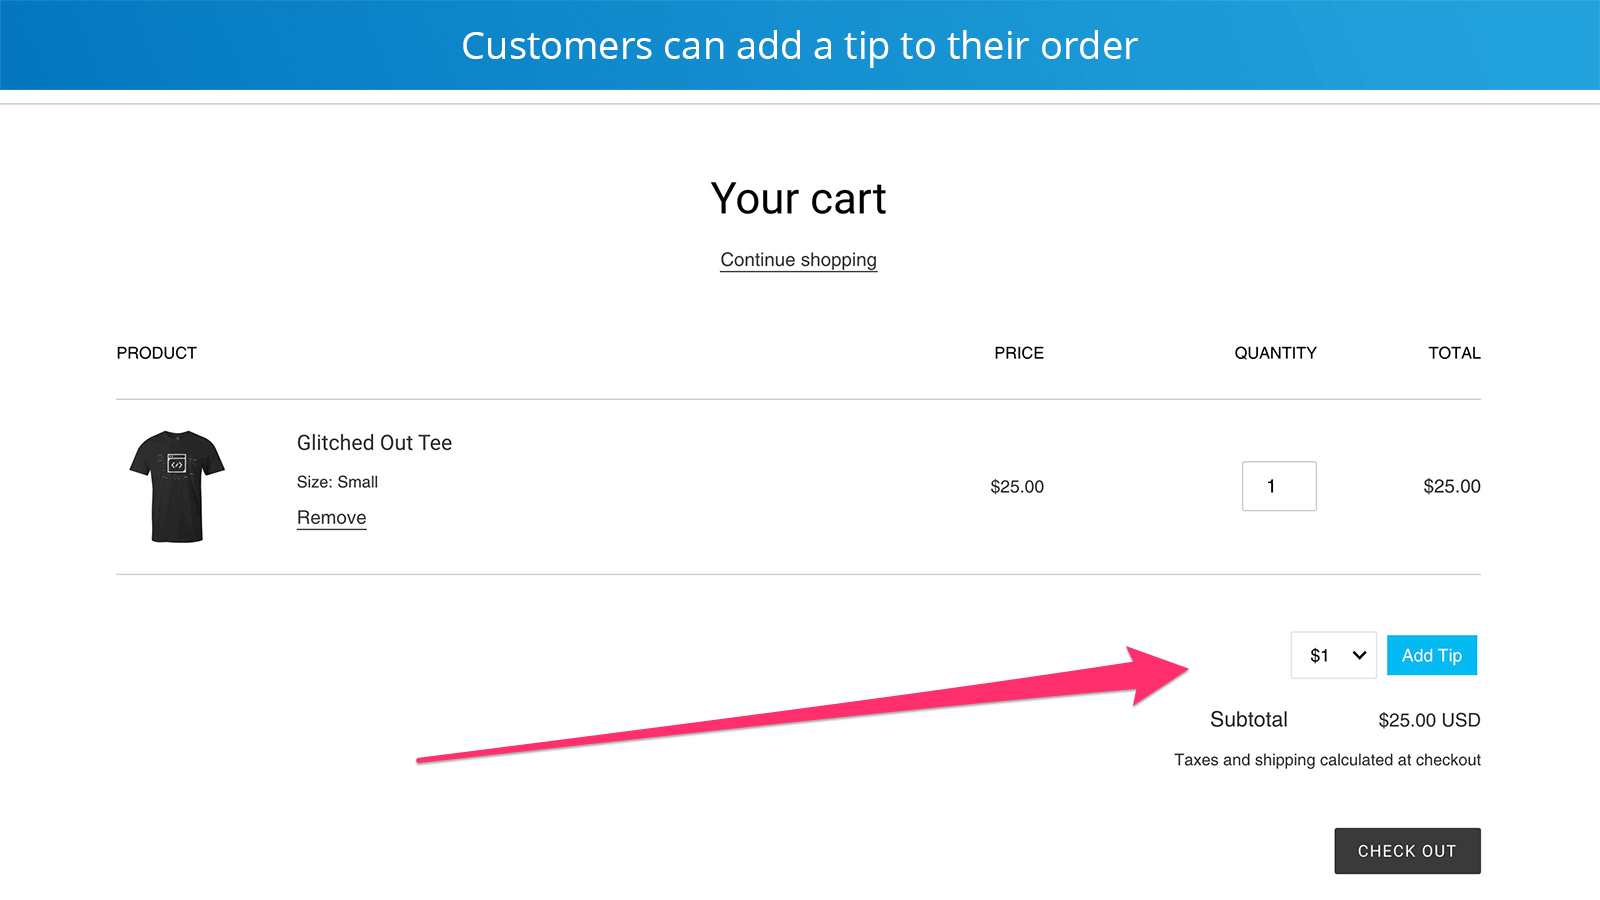
Step by Step
1. After installing Tip Cup from the app store, you’ll be greeted with instructions in the dashboard.
Click Install Tip Cup snippet to create the snippet:

This creates a snippet called tip-jar to your live theme’s Snippets folder.
To preview before setting live: Duplicate your live theme, then add include the snippet with the render statement (instructions below) into this new theme.
*When you edit the design of the of the tip button in the Customize page, it updates the snippet in your live theme. If you’d like to add this snippet to an older theme, copy the code from the tip-jar snippet in your Snippets folder, then create a snippet called tip-jar in your old theme and paste the code.
2. Inspect the area where you want to add the snippet
Most browsers have an inspect tool, we’ll use Chrome for this example.
Right click the page and select Inspect. Then click the element inspector icon:

Then hover on the element on your page near where you want to add it. This will help you identify the element’s class or ID (so you can find it in your code in step 3).
In this example, the class name of that area is cart__footer.
3. Find the file in your theme editor
Navigate to your theme editor in the Shopify admin by going to Online Store > Themes > Actions > Edit code.
If you’re adding to the cart page, search for cart in the box above the folder structure.
For most themes the Section called cart-template.liquid (or similar) will be the file you’ll want to edit.
Open that file and look for the element you found in step 2.

4. Insert the snippet
Insert the snippet with using this code: {% render 'tip-jar' %}. Then click Save.

5. Preview and publish
Preview the page to make sure it shows up where you intended.

If it looks good, publish the theme and you’re ready to rock. 🤘


